How to Install a Bathroom Vanity: Step-by-Step DIY Guide
Swapping a bathroom vanity is one of the most achievable DIY plumbing-adjacent projects in the house. No soldering, no permits in most jurisdictions, and a visible payoff in a weekend. This guide walks the full sequence for a freestanding vanity replacing an existing unit of similar size — the most common scenario. Wall-mounted installs add a blocking step covered at the end.
Tools and Materials
- Adjustable wrench and basin wrench
- Bucket, towels, and a wet/dry vac if you have one
- Level (a 24-inch level beats a torpedo level here)
- Drill with driver bits and a stud finder
- Silicone caulk and a caulk gun
- Plumber's tape and a supply-line set (often included with the vanity)
Step 1: Shut Off and Drain
Close the angle stops under the old vanity and open the faucet to release pressure. Put a bucket underneath, then disconnect the supply lines and the P-trap. Water will spill — the trap holds a cup or two — so towels are not optional. Plug the drain with a rag to keep sewer gas out of the room while you work.
Step 2: Remove the Old Vanity
Cut the caulk line along the wall and floor with a utility knife, then pull the cabinet free. If the old top is glued or the cabinet is screwed to the wall, remove the screws from inside the cabinet first. Scrape off old caulk and check the wall and floor for water damage while everything is exposed — now is the cheapest time to fix a soft subfloor.
Step 3: Dry-Fit and Level the New Cabinet
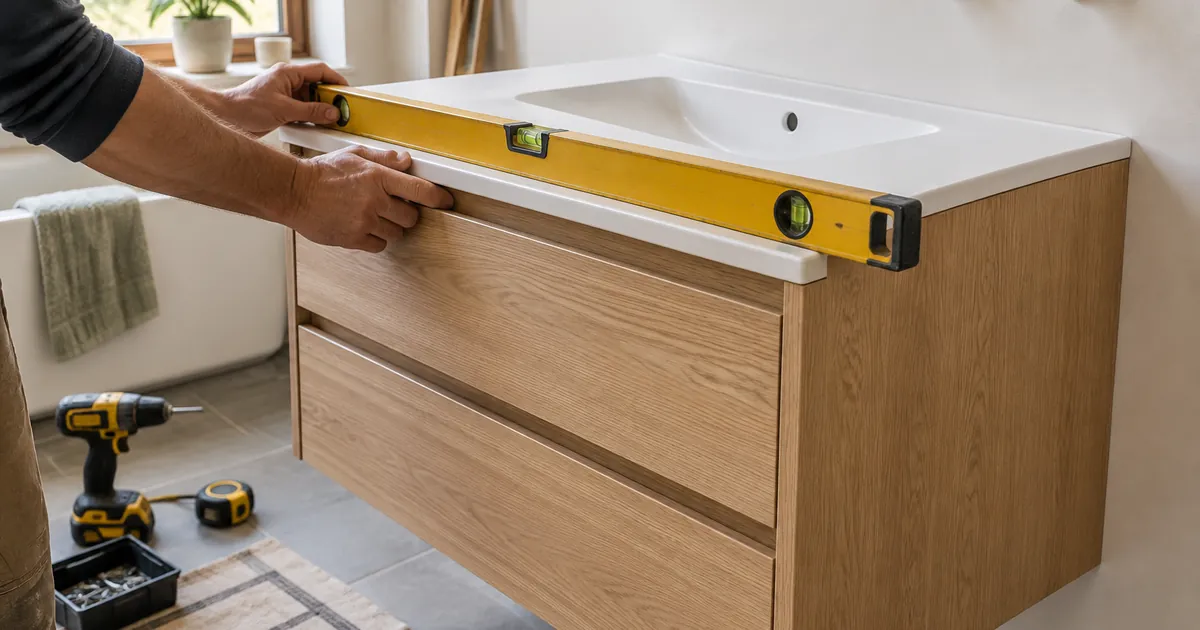
Set the new vanity in place before any plumbing hookup. Check level front-to-back and side-to-side; shims under the base correct an out-of-level floor. Mark the wall through the cabinet's back rail or mounting holes. Most cabinets — including every model in our catalog — anchor to at least two studs or use toggles where studs don't cooperate.
Check the drain position
The trap arm should enter the cabinet within the open back section. If the drain sits too high for the new cabinet's drawers, a P-trap re-route or a offset drain fitting solves it without moving wall plumbing.
Step 4: Set the Top and Faucet
If your top is separate, seat it on a bead of silicone along the cabinet's top rails. Install the faucet before the top goes into position whenever possible — it's far easier to tighten the faucet nuts with the top on a bench than lying in a cabinet. Our integrated-sink vanity skips this step entirely: basin and top arrive as one piece, pre-drilled for an 8-inch widespread faucet.
Step 5: Hook Up the Plumbing
Connect supply lines finger-tight, then a quarter-turn with the wrench — over-tightening the plastic nuts on supply lines is the most common self-inflicted leak. Assemble the P-trap, hand-tight only, and align it without side-loading the tailpiece. Remove the drain rag, then open the angle stops slowly and run the faucet for a minute.
The leak check
Dry everything with a towel, then fill the basin and release it. Watch the trap and supply connections for a full minute under that heavier flow. Run the faucet hot, then cold. Any weep shows up on a dry towel immediately.
Step 6: Anchor, Caulk, Finish
Drive the mounting screws through the cabinet back rail into studs. Run a thin silicone bead where the top meets the wall and, for freestanding units, where the base meets the floor — this is a water barrier, not decoration, so keep it continuous. Let it cure per the label before heavy use, usually 24 hours.
Wall-Mounted Addendum
A floating vanity adds one critical step: blocking. Open the wall, install 2x blocking between studs at the mounting height, and anchor through the cabinet's mounting frame with structural screws into that blocking. Raise the rough-in plumbing so supplies and drain hide behind the cabinet. If any of that sentence is unfamiliar, this is the one install worth hiring out — the cabinet itself mounts exactly as above once the wall is ready.
Common Mistakes to Avoid
- Skipping the dry-fit, then discovering the door swings into the toilet
- Over-tightening supply-line nuts until they crack
- Leveling the cabinet with the top already installed
- Caulking over a gap that a shim should have filled
Take it step by step and the project runs four to six hours for a like-for-like swap. If you hit a snag mid-install, our team answers questions through the contact page — and every Sviv vanity ships free in the US with pre-drilled faucet holes and mounting hardware in the box.